Imagine biting into a heavenly no-bake treat. It combines the rich, creamy goodness of peanut butter candy with the satisfying crunch of Butterfinger bits. These bite-sized desserts are about to become your new obsession. They promise a quick and delightful snack that takes just 20 minutes to prepare.
Butterfinger balls are the ultimate crowd-pleasing treat. They combine sweet and salty flavors in one irresistible package. Whether you’re looking for a quick dessert or a crowd-pleasing party snack, these no-bake treats will definitely hit the spot.
Key Takeaways
- Super-quick 20-minute preparation time
- No baking required – perfect for easy entertaining
- Yields 25 delicious servings
- Only 4 Weight Watchers points per serving
- Versatile recipe with multiple customization options
Why These No-Bake Treats Are Irresistible
Butterfinger balls have become a favorite among dessert fans. They turn simple ingredients into a memorable treat. These chocolate-coated sweets are a true delight.
Perfect Balance of Flavors
The magic of these treats is in their flavor. Each bite mixes creamy peanut butter, crunchy Butterfinger, and graham cracker crumbs. This mix creates a smooth yet crispy experience.
- Creamy peanut butter base
- Crunchy Butterfinger candy bits
- Subtle graham cracker undertones
- Decadent chocolate coating
Quick and Easy Preparation
These treats are easy to make. Just 15 minutes of prep time, and you have a dessert that looks like it’s from a bakery. No baking means less kitchen time and more enjoyment.
“Simple ingredients, extraordinary taste – that’s the secret to perfect Butterfinger balls!”
Crowd-Pleasing Appeal
These sweets are perfect for any event. They impress at parties or as a homemade gift. They’re great for birthdays, holidays, or just a casual get-together.
| Preparation Time | Total Time | Servings |
|---|---|---|
| 15 minutes | 1 hour | 28 pieces |
Pro tip: Refrigerate the mixture for 10 minutes if it feels too sticky to handle, ensuring perfect ball formation every time!
Essential Ingredients for Butterfinger Balls
Making tasty treats like Butterfinger Balls is super easy! You’ll need simple ingredients that you might already have. Start by mixing sweet and crunchy parts together.

These ingredients will turn simple snacks into amazing dessert bites. Here’s what you’ll need:
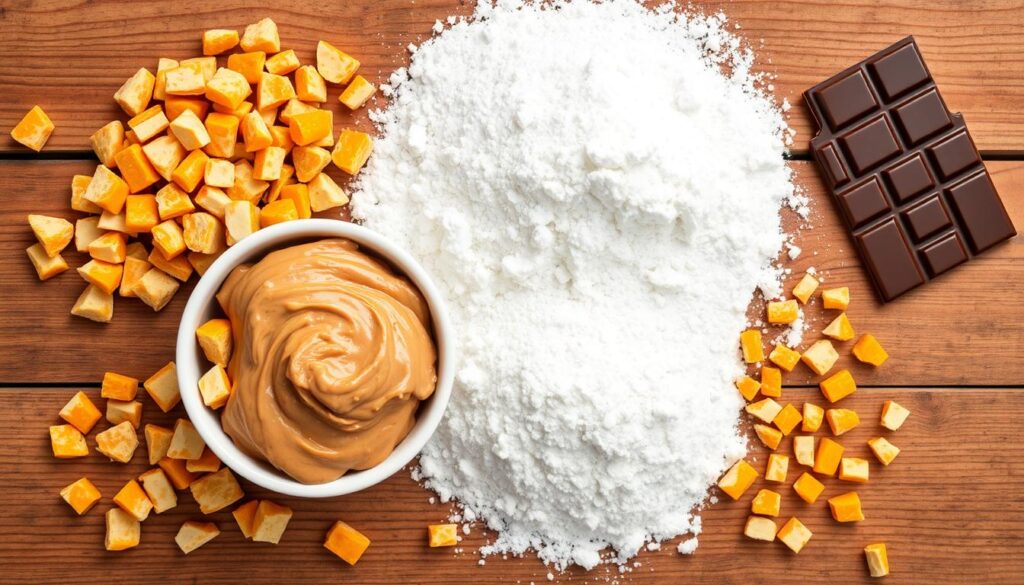
- 1 cup creamy peanut butter
- ¼ cup salted butter
- 1 teaspoon pure vanilla extract
- 1 cup powdered sugar
- ¾ cup graham cracker crumbs
- ½ cup crushed Butterfinger candy (about 6 fun-size bars)
- 10 ounces chocolate flavored almond bark
Want to make these treats even better? Crush about 16 fun-sized Butterfinger candy bars. This adds more flavor. The goal is to mix sweet and crunchy perfectly.
“The magic of these kid-friendly treats lies in their simple yet irresistible ingredients!” – Home Baking Enthusiast
Want to try something different? Here are some optional ingredients:
- Use reduced-fat peanut butter for a lighter version
- Substitute light butter alternatives
- Replace traditional powdered sugar with a sugar substitute
- Experiment with low-fat graham cracker crumbs
| Ingredient | Quantity | Purpose |
|---|---|---|
| Peanut Butter | 1 cup | Creamy base |
| Butterfinger Candy | ½ cup | Signature crunch |
| Chocolate Bark | 10 ounces | Coating |
Tip: Always use room temperature ingredients for smoother mixing and better texture!
Kitchen Tools and Equipment Needed
Making Butterfinger balls is fun with the right kitchen tools. Whether for party favors or a treat, the right tools make it easy and fun.

Must-Have Mixing Tools
Here are the key tools for making these tasty treats:
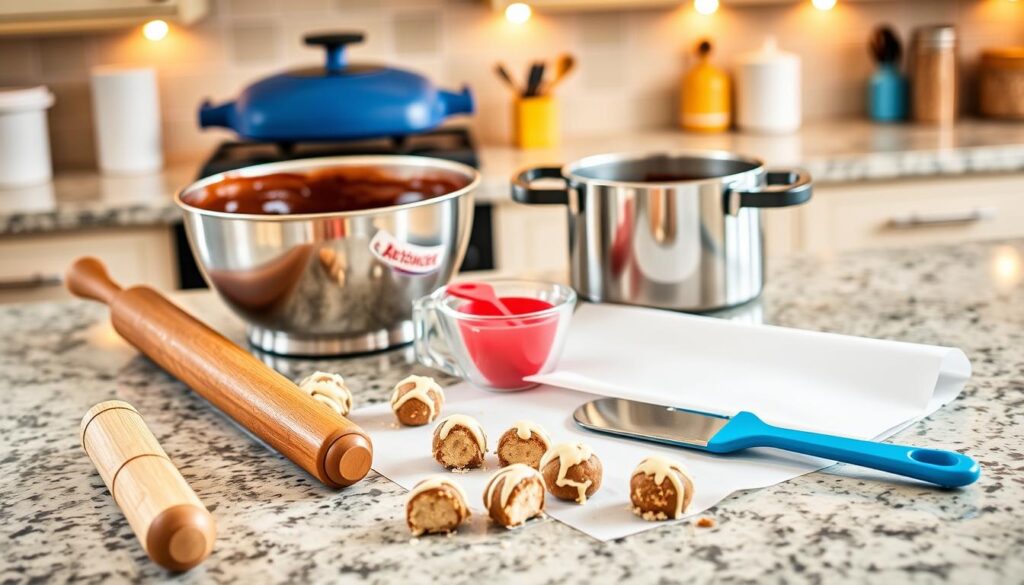
- Stand mixer or handheld electric mixer
- Large mixing bowl
- Rubber spatula
- Measuring cups and spoons
- 1-tablespoon cookie scoop
Storage and Preparation Equipment
Good storage and prep are key for perfect desserts:
| Equipment | Purpose |
|---|---|
| Parchment paper | Prevents sticking during preparation |
| Large baking sheet | Provides space for chilling and setting |
| Microwave-safe bowl | Melting chocolate coating |
| Airtight container | Storing completed party favors |
Optional Accessories
For extra flair, consider these tools:
- Kitchen scale for precise measurements
- Decorative mini paper liners
- Chocolate dipping tools
- Silicone baking mats
Pro tip: Invest in quality tools to ensure consistent and delicious results every time!
Step-by-Step Preparation Guide

Making these tasty Butterfinger Balls is easier than you think. You only need a few ingredients and basic kitchen skills. In no time, you’ll have these yummy treats ready.
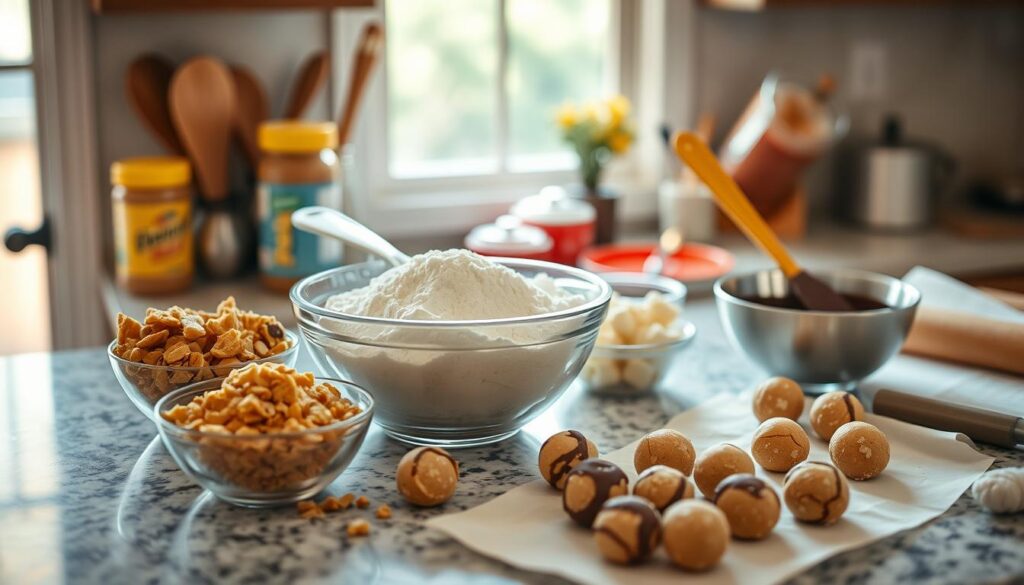
- Blend Peanut Butter and Butter: In a big mixing bowl, mix 1 cup of creamy peanut butter and 1/4 cup unsalted butter until smooth.
- Add Flavor Enhancers: Add 1 teaspoon of vanilla extract to make your treats even tastier.
- Incorporate Dry Ingredients: Slowly add 1 cup of powdered sugar and 1 cup of graham cracker crumbs. Stir until it’s all mixed up.
Getting the right texture is key for perfect Butterfinger Balls. Make sure your mix isn’t too dry or too wet. Add 5 crushed fun-size Butterfinger bars for that crunchy bite.
- Shape the Balls: Use a tablespoon to scoop and roll the mix into small balls. Put them on a parchment-lined baking sheet.
- Chill and Set: Freeze the balls for about 30 minutes. This helps them keep their shape when you coat them.
“The key to great Butterfinger Balls is patience during the chilling process!” – Home Baking Expert
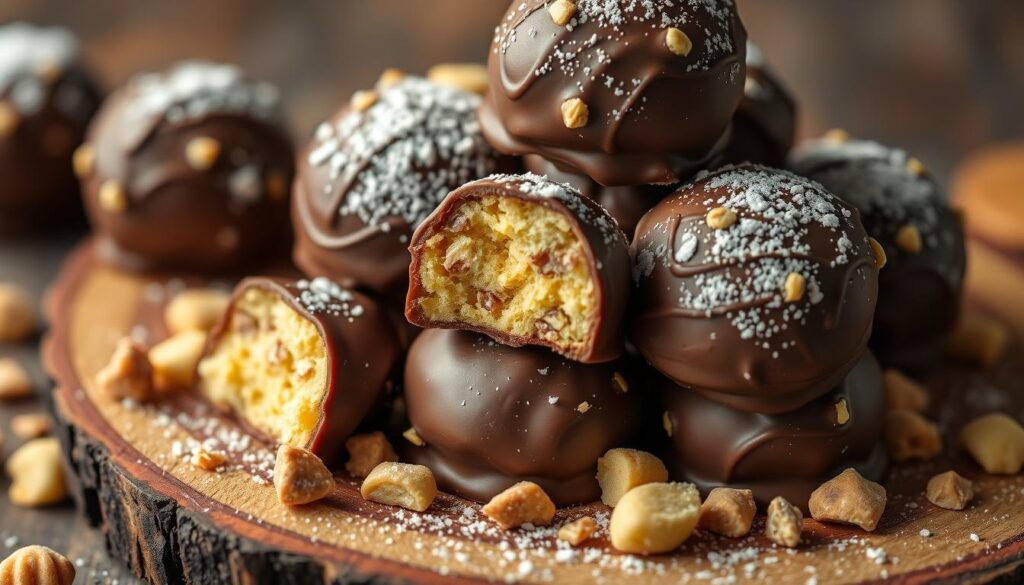
To coat the balls, melt 12 ounces of chocolate chips with 1 teaspoon of coconut oil. Dip each ball fully, letting any extra chocolate drip off.
| Preparation Step | Time Required |
|---|---|
| Mixing Ingredients | 10-15 minutes |
| Chilling | 30 minutes |
| Chocolate Coating | 10-15 minutes |
Before the chocolate hardens, sprinkle crushed Butterfinger pieces or a bit of sea salt on top. Your homemade treats are now ready to wow everyone!
Tips for Perfect Chocolate Coating
Creating delicious chocolate-coated sweets needs precision and care. Your homemade treats will stand out with the right techniques. These methods turn simple ingredients into gourmet delights.
Melting Techniques for Smooth Chocolate
Getting the perfect chocolate coating begins with melting right. Follow these steps:
- Use a microwave-safe bowl for melting
- Heat chocolate in 15-second intervals
- Stir between each heating cycle
- Add a touch of coconut oil for extra smoothness
Dipping Methods for Flawless Coverage
Dipping your Butterfinger balls needs a gentle touch. Cold balls dip best! Here are some pro tips:
- Chill balls for at least 2 hours before dipping
- Use a fork to submerge and drain excess chocolate
- Tap gently to remove drips
- Place on parchment paper for clean results
Decorative Finishing Touches
Elevate your homemade treats with creative decorations:
- Sprinkle crushed Butterfinger pieces while chocolate is wet
- Add flaky sea salt for gourmet flair
- Drizzle contrasting chocolate for visual appeal
- Experiment with colorful sprinkles
Pro tip: Work quickly while the chocolate is still liquid to ensure perfect coverage and decoration!
Storage and Shelf Life
Making tasty holiday snacks like Butterfinger Balls means knowing how to store them right. These treats can stay fresh and tasty with simple fridge and freezer tips.
Refrigerator Storage
Here’s how to store your Butterfinger Balls:
- Store in an airtight container
- Keep refrigerated for maximum freshness
- Consume within 5-7 days for optimal taste
Freezer Preservation
Freezing is great for keeping these holiday snacks fresh for longer:
- Place Butterfinger Balls in a sealed freezer-safe container
- Store for up to 2 months
- Thaw at room temperature before serving
“The secret to perfect party favors is knowing how to keep them fresh!” – Baking Enthusiast
Pro tip: For the best results, freeze the balls without chocolate. Add chocolate just before serving to keep the taste and texture perfect.
Preparation Recommendations
Plan ahead for your holiday snacks or party favors with these tips:
- Prepare balls in advance and freeze uncoated
- Add chocolate coating just before serving
- Ensure proper sealing to prevent freezer burn
By following these storage tips, your Butterfinger Balls will be a hit. They’ll stay fresh and delicious for weeks!
Nutritional Information and Dietary Considerations
Enjoying these no-bake treats? Knowing their nutritional info helps you make smart choices. These Butterfinger balls are tasty and nutritious.
Caloric Content and Macronutrients
Each Butterfinger ball has about 180-220 calories. They’re a good size for a treat. Here’s what they’re made of:
| Nutrient | Amount per Ball |
|---|---|
| Calories | 200 |
| Total Fat | 14g |
| Carbohydrates | 18g |
| Protein | 5g |
Dietary Modifications
These peanut butter candy balls can be made to fit different diets:
- Use sugar-free sweeteners for low-carb diets
- Replace regular peanut butter with almond butter for paleo options
- Select dark chocolate for lower sugar content
- Use gluten-free graham crackers for gluten-sensitive individuals
These no-bake treats are yummy, but eat them in moderation. They can be part of a healthy diet if enjoyed wisely.
Remember, enjoying treats is about balance and savoring each bite!
Creative Variations and Substitutions
Turn your classic Butterfinger Balls into fun treats with these new ideas! These desserts are perfect for kids and adults. They let you get creative and make something special.
Flavor Variations
- Chocolate Lovers Edition: Try using milk or white chocolate instead of semisweet for a unique taste
- Add Rice Krispies cereal for a fun crunch
- Try different candy bars for a new twist
- Use half peanut butter, half cream cheese for a tangy flavor
Dietary Alternative Options
- Nut-free version: Use sunflower seed butter instead of peanut butter
- Vegan-friendly: Choose dairy-free chocolate chips and plant-based butter
- Sugar-conscious: Try monk fruit sweetener instead of powdered sugar
When making these treats, remember texture and consistency matter. Chill the mix before shaping into balls. This way, they’ll stick together well.
Pro Tip: Add a personal touch with colorful sprinkles or drizzled chocolate. It makes your treats stand out!
Seasonal and Festive Ideas
- Christmas: Add peppermint extract and crushed candy canes
- Halloween: Use orange-tinted chocolate for a spooky look
- Easter: Top with pastel sprinkles for a festive touch
With these creative ideas, your Butterfinger Balls will always be exciting. Each batch is a chance to try something new and delicious!
Conclusion
Creating butterfinger balls is a fun journey into the world of peanut butter candy. It’s simple yet packed with flavor. These treats are perfect for any gathering, offering a mix of crunch, sweetness, and a hint of nostalgia.
Butterfinger balls are easy to make, making them great for both beginners and seasoned cooks. You only need 30 minutes to prepare them. This recipe turns simple ingredients into a sweet masterpiece, just like the Butterfinger candy bar.
Remember, the more you make butterfinger balls, the better you’ll get. Feel free to try different chocolate coatings or add your own twist. Your creativity can make these treats a favorite at any event.
Enjoy making and eating these treats. And don’t forget to share them with others. Your homemade butterfinger balls are not just a dessert. They’re a special experience to be enjoyed by all.

